How to build a faux brick wall
The Bankrate promise
At Bankrate we strive to help you make smarter financial decisions. While we adhere to strict , this post may contain references to products from our partners. Here's an explanation for .
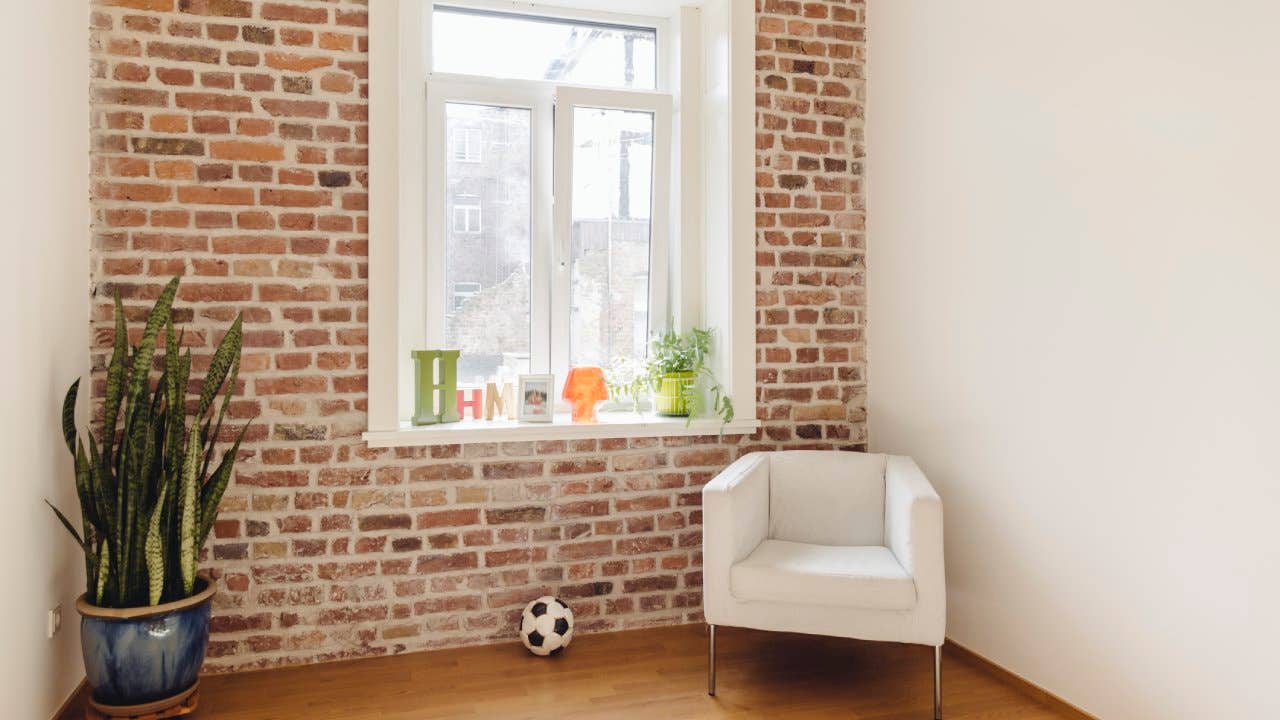
It’s hard to deny the appeal of an exposed brick wall. It can provide a modern, industrial-chic ambiance or a warm, rustic feel or a historic-home vibe. Whatever effect you’re going for, an interior brick wall is a great accent — but it can also seem unattainable.
You might love the look of brick but just can’t find a house made of that stuff. Or maybe you rent and can’t change the walls in your abode. Fear not, with faux brick panels you can create the look in any setting — without knocking out any walls or using any actual brick or mortar.
What are faux brick panels?
You can think of faux brick panels as a kind of textured wallpaper, though they’re fairly heavy duty, close to plywood in thickness and heft. Some are made of very thin layers of real bricks, but most are made of engineered materials, like high-density polyurethane or MDF (medium-density fiberboard). With their rough, uneven surface, the “bricks” and “mortar” feel and look remarkably similar to the real thing. However, they are strictly a decorative accent; they do not provide any strength or structural support.
Faux brick panels come in a variety of forms, sizes and colors, and most home improvement stores carry them. They typically scale easily, so you can buy multiple panels if needed to cover your wall. They usually run from $20-$40 per panel, though some elite brands can run as high as $100 per panel.
The best-quality faux brick panels are engineered with finger joints that hide seams and make them easy to install with nails or screws. The panels are usually designed to work on drywall material, but you can also potentially use them on surfaces like concrete with an adhesive material; some come with peel-and-stick adhesive tape on the back.
Before buying your faux brick panels, you’ll want to measure your wall, of course, to determine how much you’ll need. Plan on getting 10 percent extra’s worth of panels, to cover yourself in case of mistakes.
Building the faux brick wall
Before you start
To get started on your faux brick wall, you’ll want to gather all of your gear and ready the surrounding area.
Materials:
- Construction level
- Tape measure
- Circular saw
- Jigsaw
- Power drill and screws or nail gun
- Step ladder
- Pen/pencil (to mark cuts if any)
The process
- Prep the wall: Clear out the area so you can access the full wall. Unplug anything from the electrical outlets and remove outlet covers.
- Prep the panels: Measure your panels to determine how many of them you need and how they will fit. If necessary, cut the panels into a size that works best with your jigsaw or circular skill saw. You will also need to create holes for outlets, and allow for around windows or doorframes.
- Arrange the panels: Get your panels lined up with the wall (and with each other, so the adjacent panels “fit” together). Make sure everything is measured properly and the panels will fit as expected.
- Install the panels: Start at the center bottom of the wall, and work your way outwards and upwards. Place each panel onto the wall, one at a time. Install it by either drilling a screw or nailing a nail into each corner to hold it into place (or however many the manufacturer recommends). Repeat until the wall is complete.
- Finishing up: Re-install electrical outlet covers. If desired, wipe down the wall.
Final word on faux brick walls
Installing a faux brick wall can be a cost-effective method of creating an exposed brick look when the real thing isn’t viable. It’s a good, simple DIY project that most people should be able to complete on their own — though it’s easiest to do with two people.
Depending on how much equipment you already have and how many panels you need, the whole project should cost between $100-$200 and will likely take between two to four hours to complete, depending on how big the wall is.
Related Articles